Create a Vehicle Token
With an idea for your build, and assets collected, it's time to create a ship! The best way to explain how to edit together a new vehicle. Check to make sure you have the major assets you need. As you build, you may need additional assets, requiring more captures and clean up.
The Inspiration
So let's get started! I found the original model for the Blood Elf Destroyer, but it has low quality assets, odd color, and could use some updating. For this example, I will create a new Sin'Dorei Destroyer using assets from the new heritage armor, board texture, a polearm, stained glass from the Sargeras raid, doors, and a few other things.

Building the Base
Using methods for capturing content, start with the base or largest structure. From it, layer new assets, add sections, and expand on the creation. "Vehicles" include land-based tanks, cannons, turrets, wagon trains of doom, and the like. Naval has ships of various kinds, small boats to large cargo ships, huge carriers to flotillas. Air support includes small planes, gliders, wyverns and dragons, copters, planes, massive airships, and more.
Search and capture assets from existing vehicles to get started, from one of the tools or sites or the WC Google Drive. For this example, I found a small boat with a similar hull from BFA assets. I added pieces to add "wings" off the side and levels like a large ship.
Custom Base
If you have a vehicle you want to create, but don't have a base vehicle, time to get creative. One great option is to find a screenshot of an existing ship, be it a ship from another game, tank from existing armies, a Warhammer model and use this as the base to build on.
- Capture textures and pieces from raids, locations, other ships, even armor. I recommend using wmo files of raids, dungeons, buildings, and cities.
- Start a PSD file with the screenshot as layer 1 or background.
- Take cut textures and buildings, laying them over the image to build us the structure and base.
- Continue adding effects and shift colors until you have a great new begining.
- Save these files in a group or two. You can create duplicates as new bases for variations and more.
Change Color
To change the shade of materials such as wood or metal, use Hue & Saturation, Color Replacement,
Hue & Saturation
- Select content.
- Select Image > Adjustments > Hue/Saturation.
- Select Master to affect all colors, or select a specific color to change.
- Shift the hue left and right through the spectrum, darken and lighten to find the right color.
- If it does not give the desired effect, select Colorize and try again. This option desaturates the image then applies the color.
Color Layer
- Create a new layer.
- To restrict the color to an area, select a section before brushing on color. I recommend clicking the Add Mask button
 just for this layer. You can paint and paint, without editing the color of other layers.
 - To restrict the color to the content, right click on the new layer and Add Clipping Mask.
- Set the layer type to Color.

- Pick a brush, a color, and start painting! You can get inventive with these options. Add as many layers as you need for color, color dodge, etc.
Color Replacement
- Select Image > Adjustments > Replace Colors...
- Optional, if you are selecting similar colors (contiguuous), select Localized Color Clusters.
- Use the eyedropper to select colors, adding and removing as needed.
- Change the fuzziness slider as needed, to add more or less based on shades.
- Then the fun part, modify the Hue, Saturation, and Lightness sliders as needed or use the Color Picker to replace.
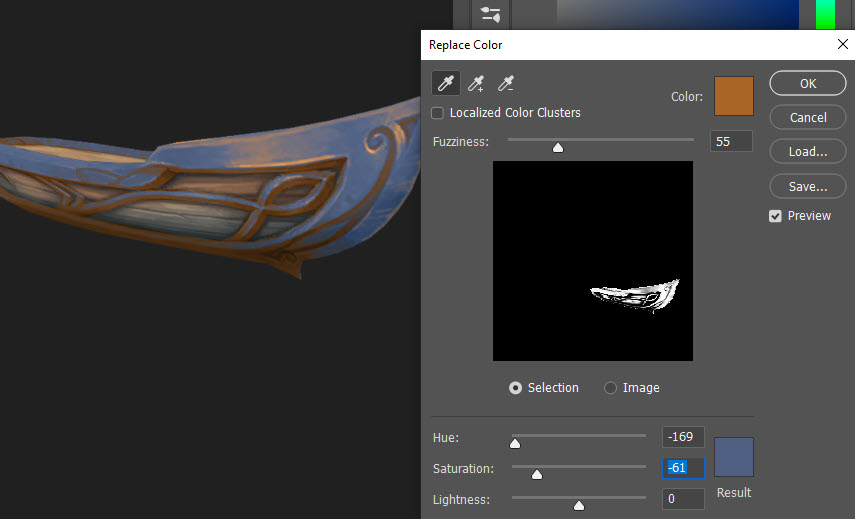
This option also has a brush tool:
-
Pick a color you want to paint with.
-
Select the Replace Color brush, hold down the brushes to see it.

-
Set the tolerance and other settings as needed to replace more or less of the initial color you click on.
-
Click on a color in the image you want to replace, hold down the mouse/tablet pen, and paint! It will paint with the new color over the first color selected as long as you don't unclick.
Extend the Base
To add new pieces to the vehicle, cut out model bits and add them to the image. You may need to reshape, scale, distort, and warp the pieces to fit nicely together. Or you may need to cobble together many bits and pieces, creating a Frankenstein image!
For this wing, it needed to be pointed away from the hull without affecting the phoenix head.
-
Cut a piece from a model. If I plan on resizing only a part of it, create a copy of all or a section.
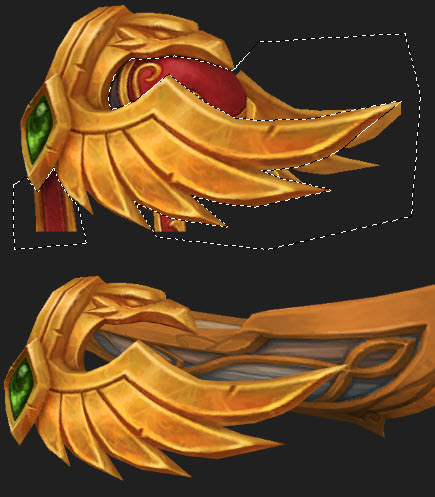
-
Use Edit > Free Transform and Transform Tools to shift, move, and tweak the model to fit just right. Other tools to consider are Perspective Grid and Liquify, excellent for shifting bits and pieces.
-
Cut away the head which will be replaced with the original.
-
Move the head back in, and make any final tweaks.
-
If you need to enhance the image, click Filter > Sharpen > Unsharp Mask and try out some options.
Expand the Content
Beyond a base, begin adding features and options to bring the vehicle to life. Find assets, add them as layers, play with the layout, and more.
- Crates and chests
- Weapon racks
- Built-in weapons like artillery, cannons, etc
- Details of doors, windows, towers, stairs, walls, etc
- Magic additions such as runes, circles, crystals, etc
- Staff on hand, soldiers, casters, healers
- Small ships that come along with the larger
- Flags, crests, logos, faction marks
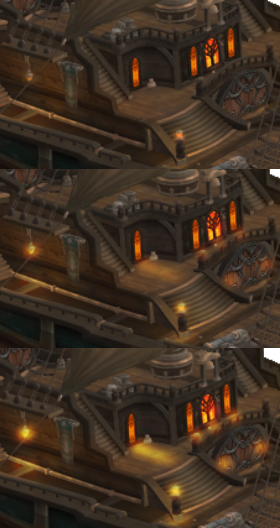
Hilights and Shadows
After adding a ton of assets, layers, and textures, bring it to life with effects, weathering, shadows, and dodge colors.
The effects gallery and Effects PSD give you a ton of options for adding sparks, fire, magic glows, blood splatters, and more.
Shadows give dimension to the model and layers. Add a layer, paint with black, set to Multiply, and reduce the opacity.
Color Dodge can brighten windows, add glows on metal and wood from fires or crystals, spark lanterns, and more.
- Add a new layer, set to Color Dodge.
- Pick similar colors to the effects you want to brighten, and paint with a soft brush.
- Reduce the opacity of the brush to slowly brighten as you paint multiple passes.
- Add different colors, erase away as needed, add layers of dodge for different areas.
The following example shows a dodge layer with one pass to start brightning lamps and showing light glowing from windows. I liked the glows, but duplicated the glow layer to maker them stronger.
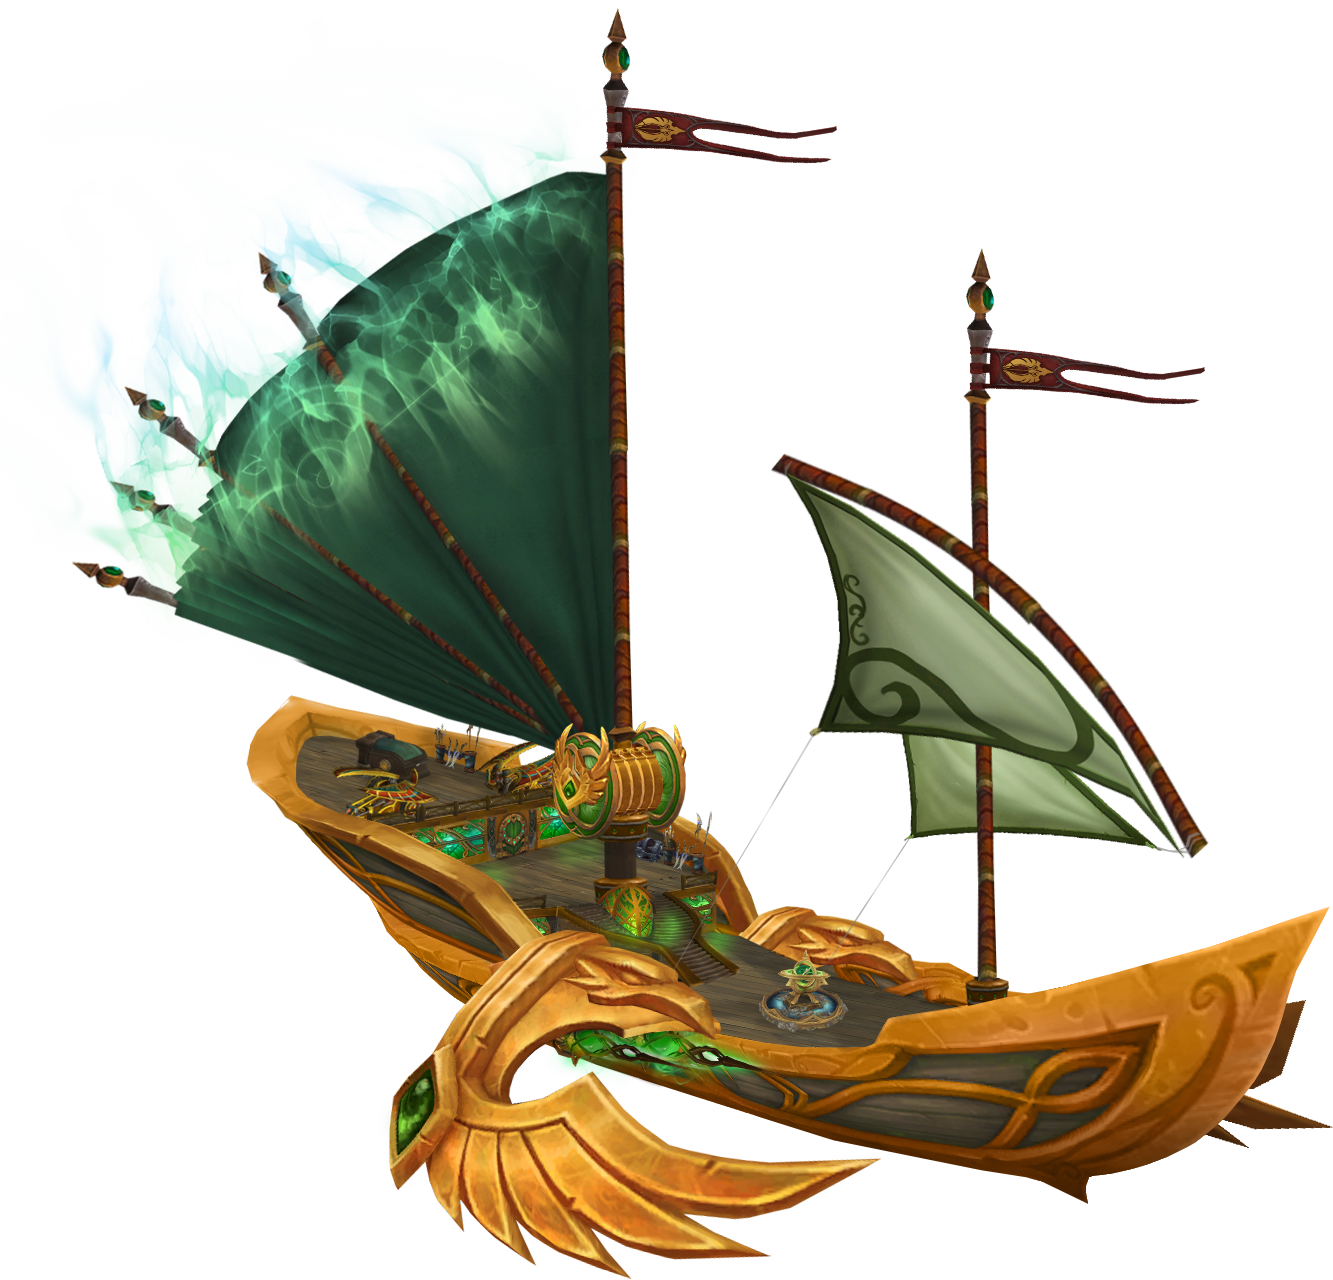
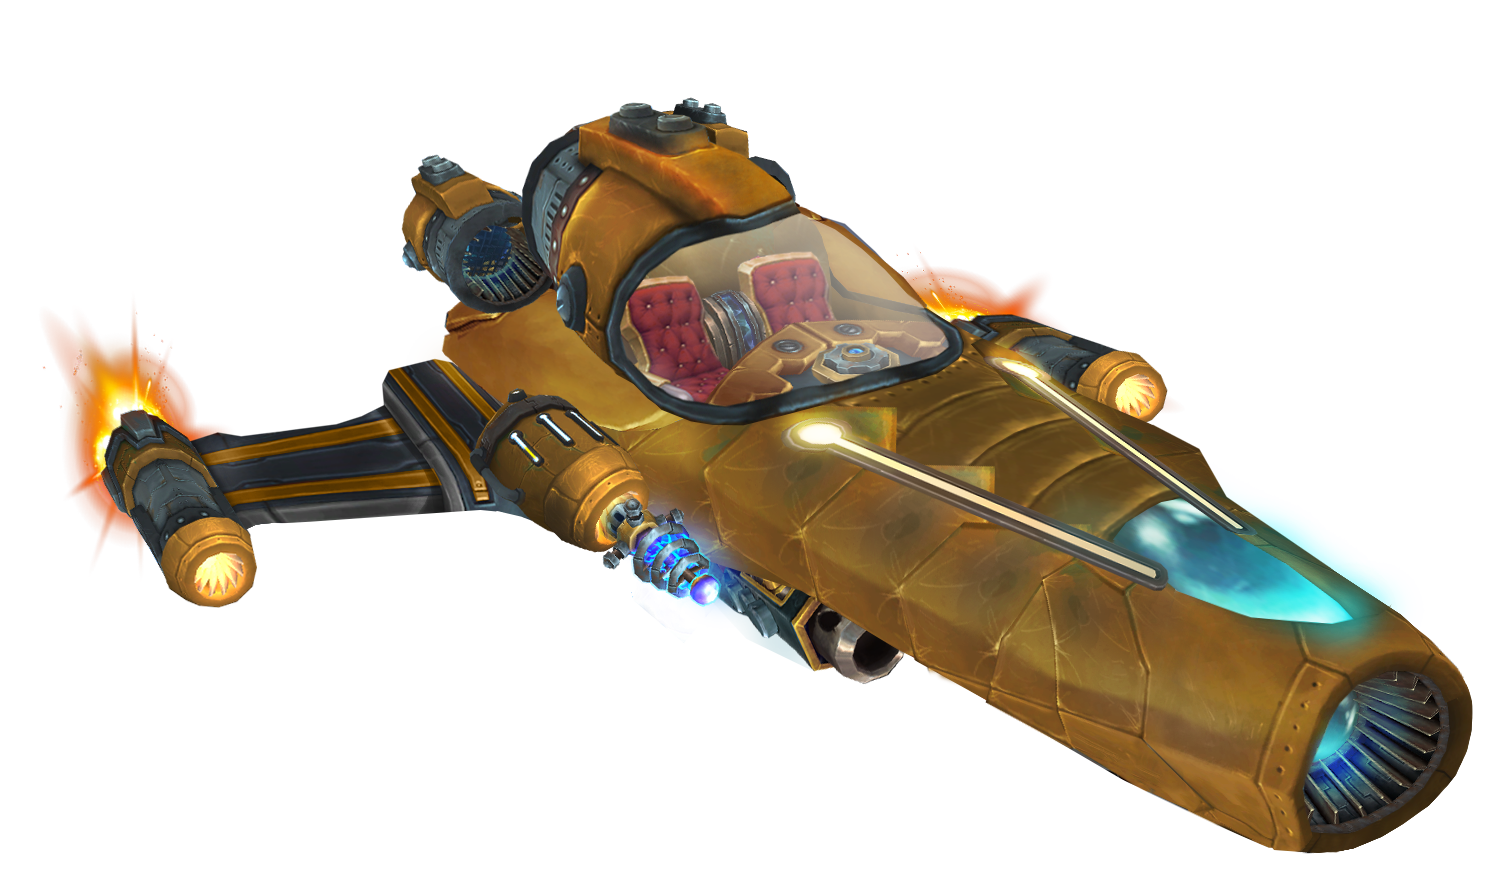
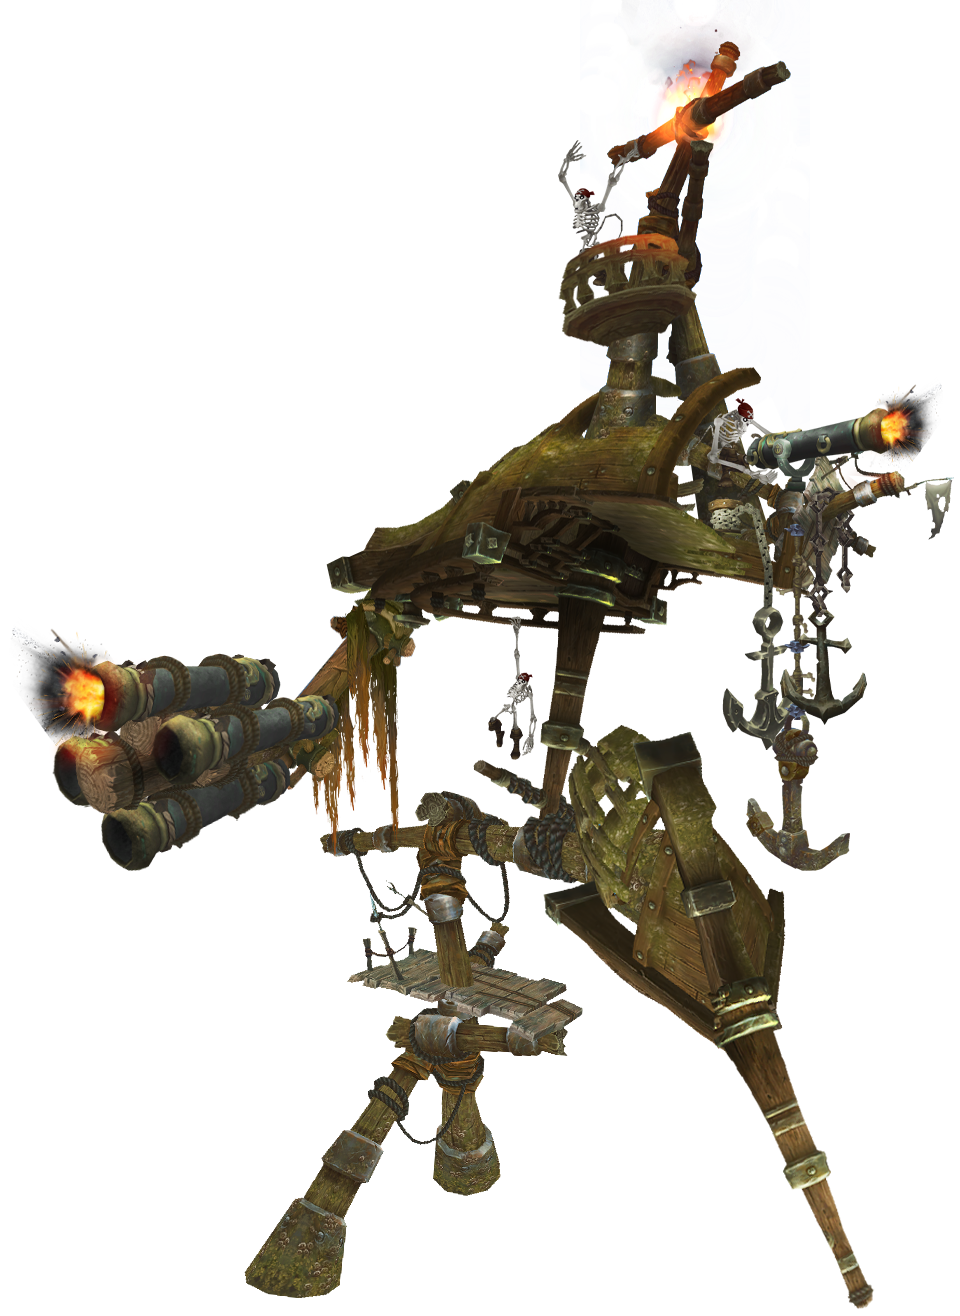
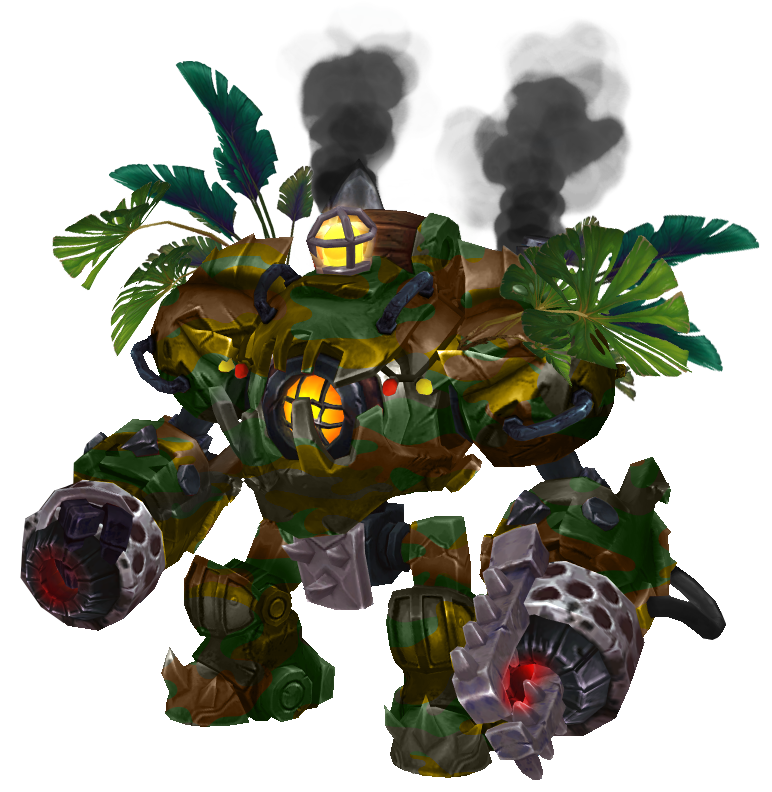
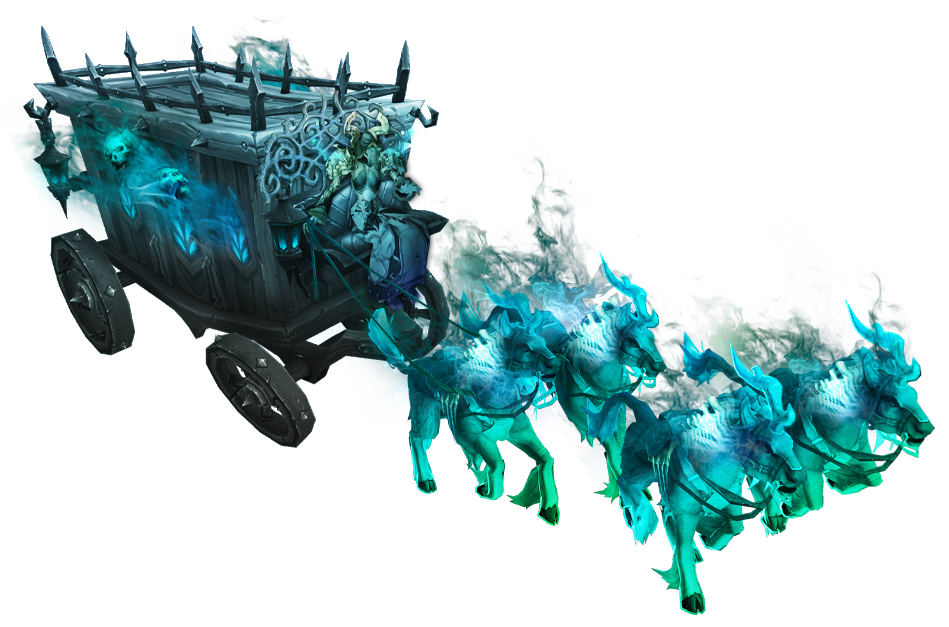
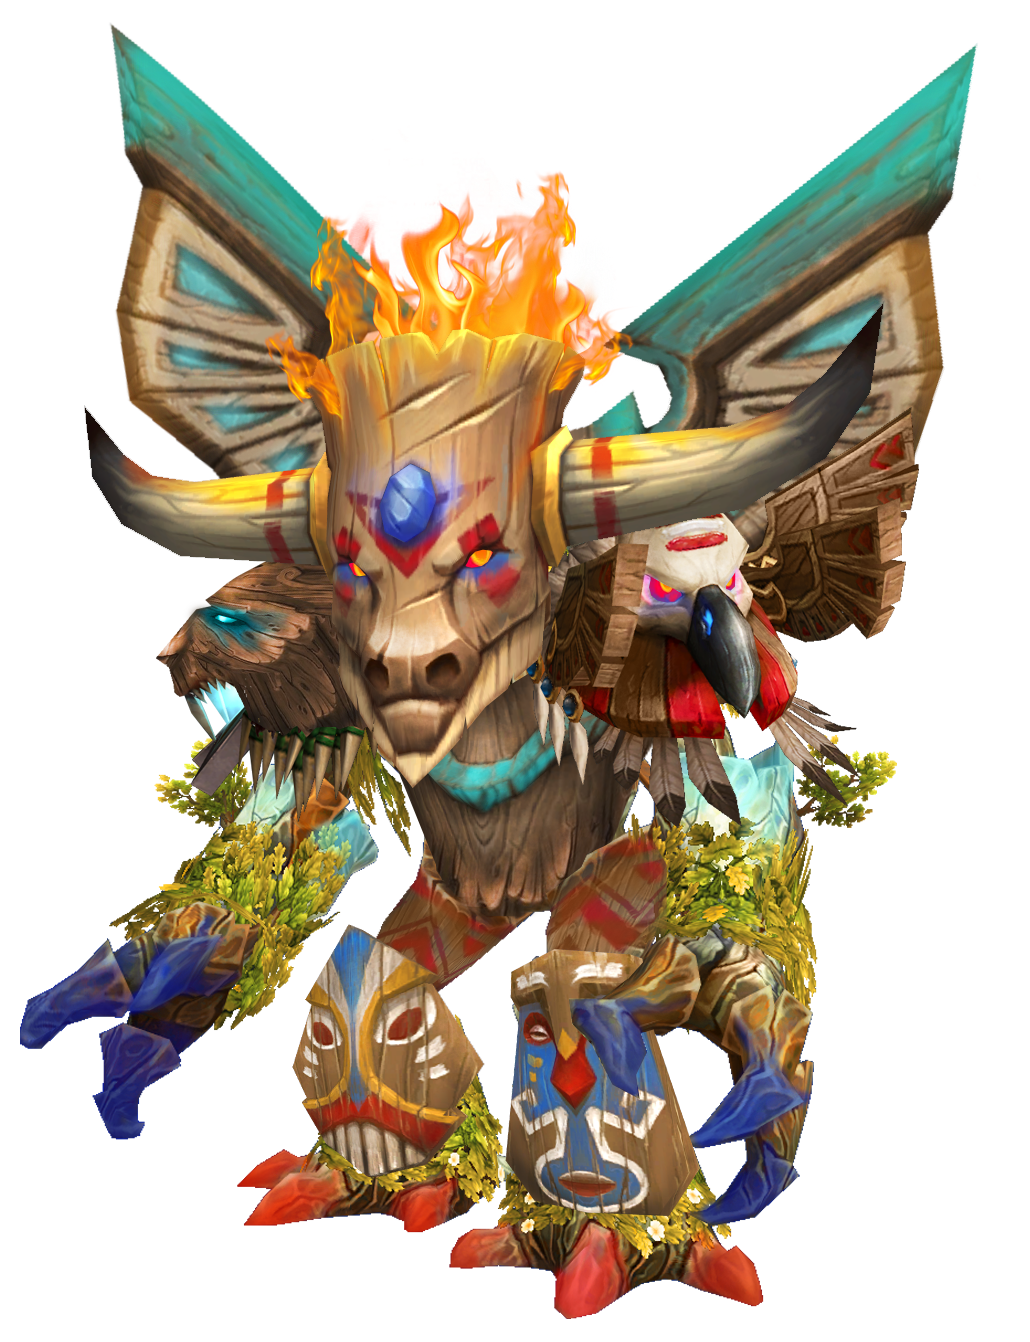
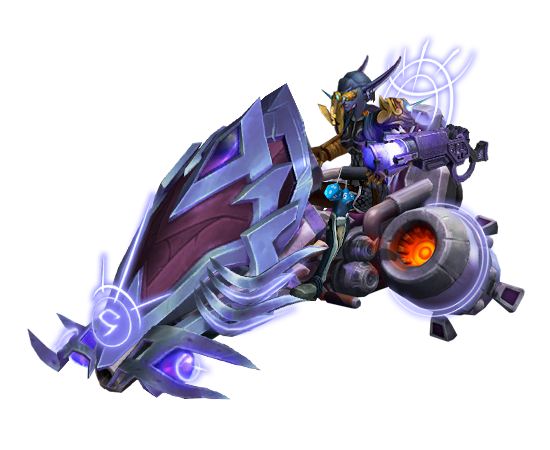
Example Ships
Here are a series of vehicles created using this method! Click to zoom in.
 |  |  |
 |  |  |